Standard permissions solution
Sometimes when developing an app we need to get permission to use the photos on the user’s device (for example to download avatars etc). The standard solution, UIImagePickerController copes well with this task in most cases, but sometimes it’s use can be very problematic and a custom image picker is required.
Problem cases
If your program works only in landscape for example, you will need to add support for portrait orientation in the project settings and clearly specify landscape orientation support only for all ViewController’s in the code (if they have inherited from your Parent class this can be done just once).
Alternatively, sometimes you need to edit chosen pictures before they are used in a program.
Making a custom image picker
For solving such problems we can create our own image picker using PHImageManager.
PHImageManager appeared in iOS 8, it’s a part of the Photos framework and it provides access to photos and videos on the user’s device. Using it as our base let’s make a custom dialogue for selecting pictures from the device library. In this example I’ll do it on Swift, using Cocoapod to manage dependencies and GPUImage to edit pictures.
Create in Xcode a new ‘Single view application’ and add two UIImageviews to the storyboard. Add their outlets in the ViewController class, also add a button which when clicked on will show our custom image picker.
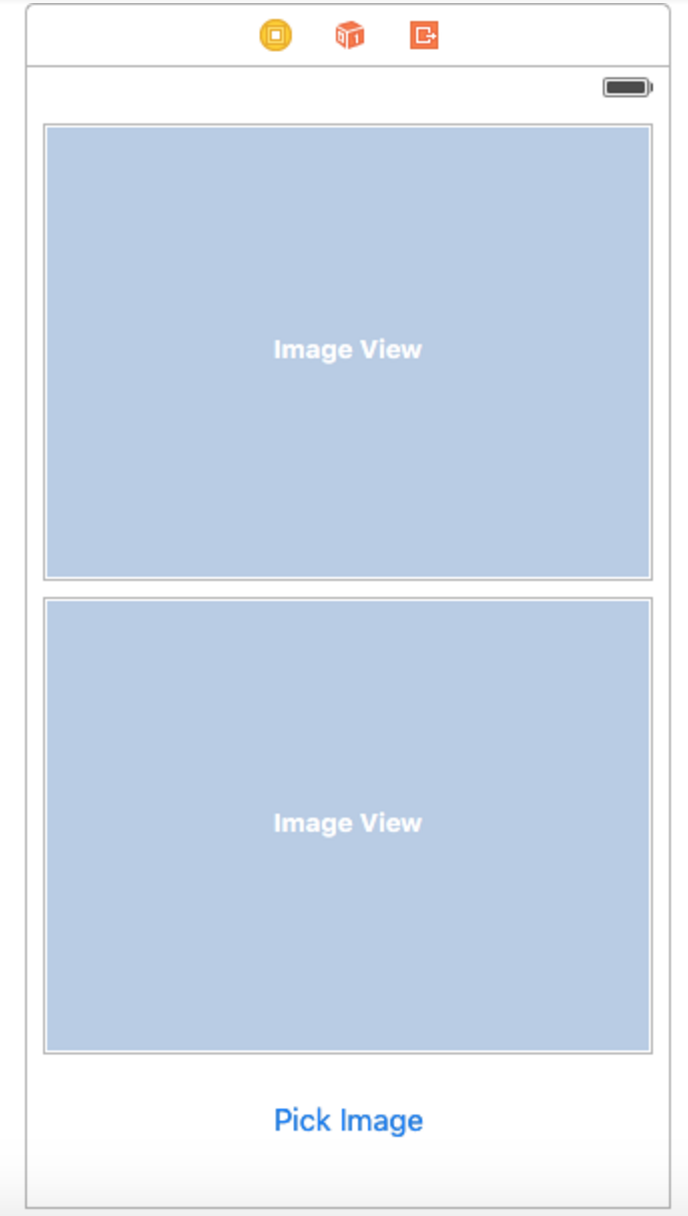
Img. 1 Main view controller
Main view controller code:
For the image picker, we create a separate storyboard with two view controllers: the first will show a list of images (UICollectionView), and the other will show a preview of the selected picture and some sliders to change the picture’s colour balance and a switcher for inverting colors.
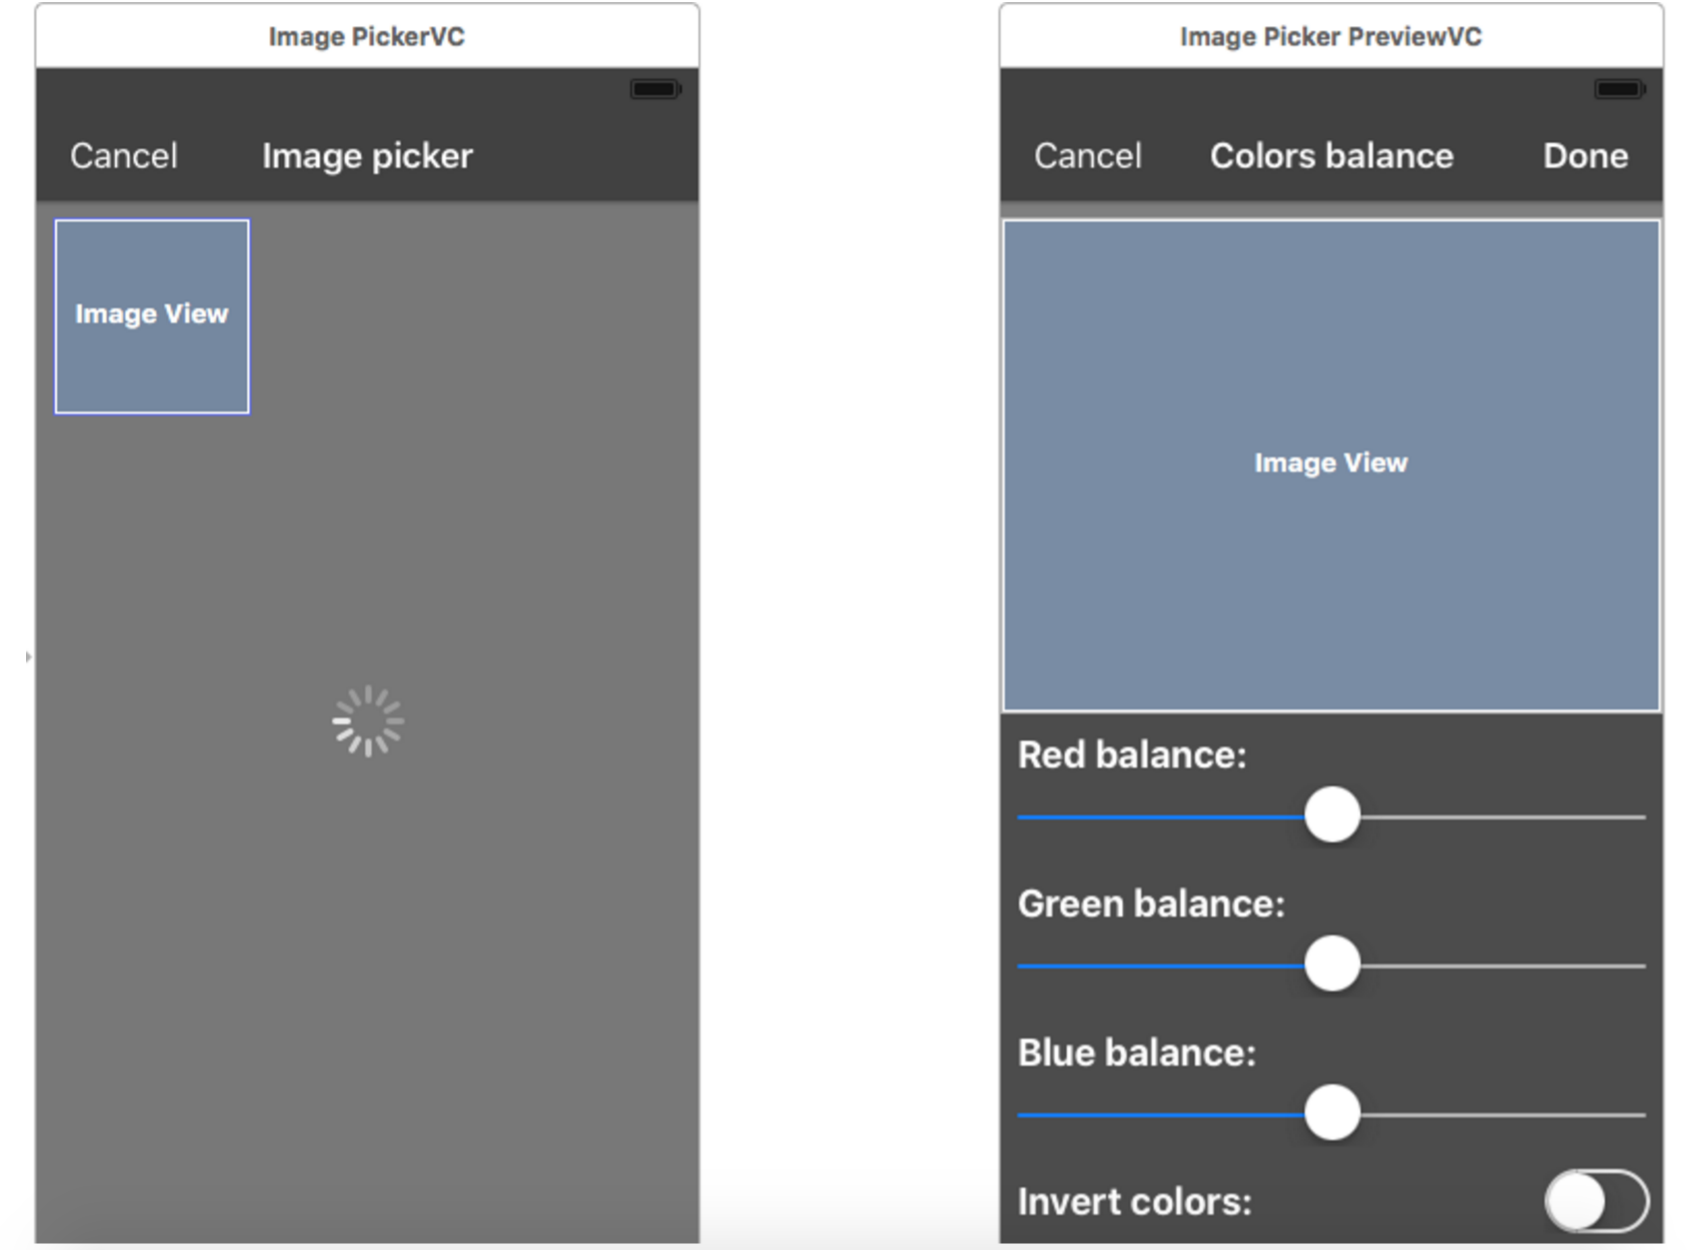
Img. 2 Images list and image preview controllers
To use PHImageManager we need to import the Photos module. When it shows, our custom
image picker checks it’s permissions:
If the user is allowed access to images we execute a query that will return us a list of all images and reload our list of pictures:
To download and display pictures from the list we use PHImageManager method and requestImageForAsset:
When you tap on a picture, a screen is shown containing a preview of that picture:
On the preview screen we can change the colour balance of the picture and invert the colours; to implement this functionality we applied a simple filter inherited from GPUImageFilter.
Filter definition:
Filter implementation:
Fragment shader:
If the “Done” or “Cancel” buttons are pressed, preview image controller returns the result through the delegate methods:
Once the image has been selected and the ‘Done’ button pressed, image picker will close and pass the result to main view controller, which is delegated by image picker. It will also implement an appropriate method by which received images (original and edited) will output onto main view controller:
Result:
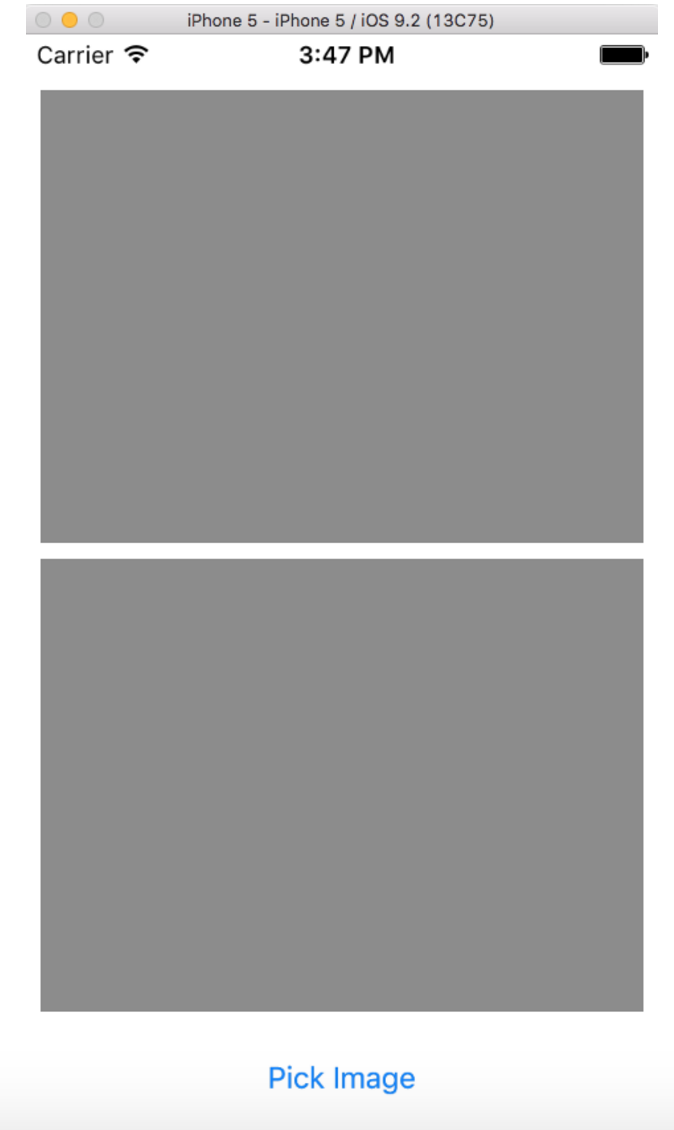
Main screen:
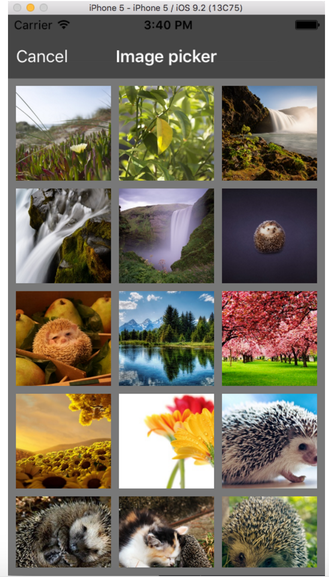
Image picker screen:
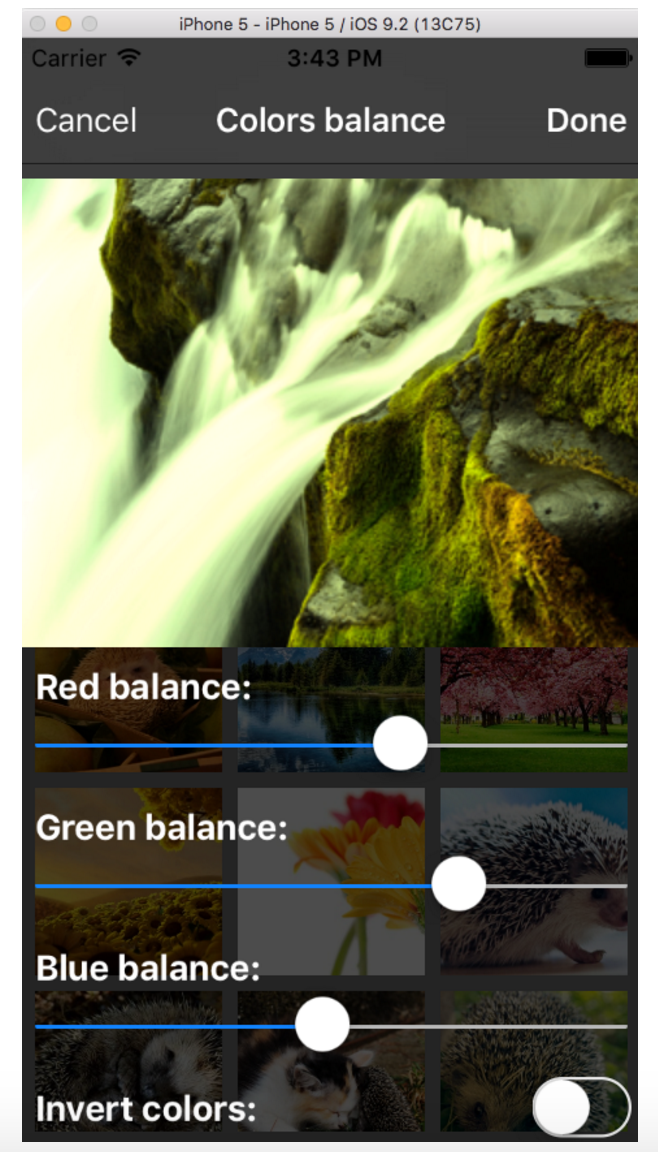
Preview image screen:
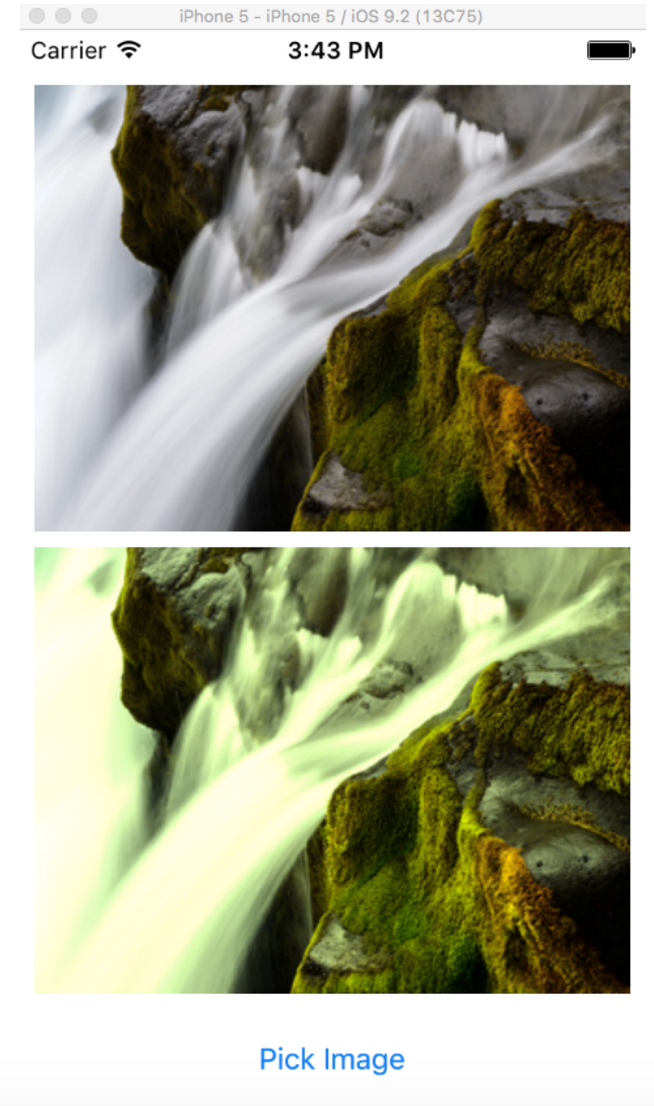
Picked image (original and edited)
The full example can be found here.